Wednesday, December 11, 2013

Affordable Tutorials (2) Inspiration with simple Tutorial - Heart Hoop Earrings

http://www.uncommongoods.com/product/love-cymbal-earrings

love cymbal earrings ($80.00) on Uncommongoods

I've always been fascinated with hoop earrings. Of course I myself know how hard it is to make one really good. This pair of heart hoop earrings I found from uncommongoods.com. The materials they used are brass, nickel, bronze, guitar string,and steel. However, I think a beginning jeweler can easily pull this off with $10.00 or less.

First, lets look at the materials, and I think we can even make all the brass colored areas gold filled, and it STILL will be MUCH cheaper than $80.00.

Materials
2 heart shaped pendant (similar)
12 inch 49 strand soft flex beading wire, silver (see here, or at your local craft store)
2 10 inch 24 gauge wire gold filled (or base metal) (found here or at your local craft store)

The reason I think 49 strand soft flex is good for this is because we are trying to achieve a perfect circle by relying on the beading wire itself. There is no need to bend the wire, of course you can't bend 49 strand wire and not kink it. The more strands there are in the soft flex, the more flexible they are, and the less likely they are going to kink and not look smooth. This is what we are trying to achieve.

You can first make the hoop with the soft flex beading wire. Braid them like you would braid someone's hair with three strand interlace with each other.
Then, take the 24 gauge gold wire, wrap it around the ends of the soft flex wire to close it up. Make sure to make a wire wrapped loop on the top to attach ear wires, and make a loop on the bottom to attach to the heart pendant.

Now you've made a pair of cute $80 worth earrings all by yourself under $10! Easy and affordable. I think that's what we look for every day in life.

http://www.networkedblogs.com/joulesofjewels http://www.etsy.com/shop/joulesofjewels http://www.facebook.com/joulesofjewels

Readers, what are some of your easy and affordable solutions?

Monday, December 9, 2013

Affordable Tutorials (1) - Gold Simplicity Earrings Tutorial - What to buy for Mom - Inspiration

As Christmas is tiptoeing, I have found some new wire wrapped jewelry project. Recently I have read an article about "less is more." In that article, the author argued that sometimes we "try too hard" to make a jewelry. Sometimes, simplicity is the key to beautiful jewelry. So baring that in mind, I have found a couple of easy, cute, and simple earring style for the holiday.

http://www.uncommongoods.com/product/golden-path-earrings
Golden Path Earring ($120.00) uncommongoods
This pair of earrings is easy to DIY. They used an alloy material called Shibuichi in the back as the dark oval shape, and a flat gold strip slightly bent in the front as contrast. This item on uncommongoods is sold for $120.00. But in fact, you can totally DIY it for less than $20. One can easily change the shibuichi into a flat oxidized silver oval teardrop (similar here), and the flat gold strip can be made from simply hammering a 20 gauge gold colored base metal wire or gold filled wire. You can find gold filled wire from here. You can even buy square gold wires. They are a little more expensive than the round ones (see here).
After this, do you still want to pay $120.00 for this pair of earrings? Make it your own for someone special in your family this Christmas!

Here's the material List:
1 pair of ear wire (can be found here)
2 2-inch Gold filled wire (for the gold strip) hammer it flat
2 tear drop silver oval pendant

You will need:
Round nose pliers
Flat/Chain nose pliers
Benchblock
Hammer


http://www.networkedblogs.com/joulesofjewels http://www.etsy.com/shop/joulesofjewels http://www.facebook.com/joulesofjewels


Saturday, November 23, 2013

Brown - Garnet Colorings for the holidays

https://www.etsy.com/treasury/MzcxMDUwMjl8MjcyMjc1MDg0OQ/chocolate-brown
Click on the image to see the Etsy Treasury

Lovely warm chocolate brown color for the holiday season! Another great finds on Joulesofjewels Treasury! I especially adore the brown cow coin bank (on the upper right corner). It is absolutely adorable!! And it cracked me up a little. :)

Of course I somehow stumbled upon Mr. suit (3rd from the left on the second row). Still stunned by his fashion and great work! I actually read that etsy feature of his shop. Really lovely inspiring story.

http://www.networkedblogs.com/blog/joules-of-jewels/popup?code=AQDEp-N5KJDAis0Xv1LaNDCGddi0zXRePn9ZLWRUCzRAW5jpsYJ-noxCEZael_yLPXp3KC-E5T87dM4i-nr6nckeJie-R4I9jX-0OpaxAOHs3cbf2hk7cypdRXgIbhwfh3sXReqFhnsiKERzsfR70Jvvwjv42I19bU8vAkPi6ir8sY_w92mOeUbZFfgfnOLyVWxTWoe5Mg97XAZ-PexdCaGr6J5v4MyS3qDxviIUxO8RLIEqN0Bj-muvd9gu8dAr_B6tP6ZaNhAx9Oo1XayltzNl4CqKIvoTmELBXcInQiqXTlqVgbXecZAaXFuC93ZiuOw#_=_ http://www.etsy.com/shop/joulesofjewels http://www.facebook.com/joulesofjewels

Saturday, November 16, 2013

Treasury - Purple, Mystic Lilac

https://www.etsy.com/treasury/MzcxMDUwMjl8MjcyNTI3NzMzMg/purple-mystic-lilac

Happy Saturday! Hope everyone is having a stay-in warm day with a cup of hot chocolate~
Purple has always been a favorite color of mine. Elegant and mysterious, it's also linked to one of my favorite scent, Lavender. Enjoy the treasury :)

Thursday, November 14, 2013

A Harry Potter Day - with Starbucks Butterbeer and Cute HP gifs

https://www.etsy.com/treasury/MzcxMDUwMjl8MjcyMjcwNjY3OQ/harry-potter-treasury?index=0&atr_uid=

I solemnly swear I am up to no good.


Here's the treasury for Thursday!! For those Harry Potter fans. WE LOVE HOGWARTS!

I have also stumbled upon this new starbucks "secret menu" butterbeer recipe. According to what I have read, it is seasonal because of the butter nut syrup. So go try it before Christmas! The instruction says that as long as you provide recipe, Starbucks will make it for you.   I am gonna try it this weekend!!! (For original source, please click on the butterbeer picture)

http://www.syracuse.com/entertainment/index.ssf/2013/11/butterbeer_starbucks_secret_menu_harry_potter.html

Here's the recipe: Give them out to the starbucks employees and have them make a butterbeer for you at this holiday season!

Cold Butterbeer Frappucino:
  • A Creme Frappuccino base. "Don't skimp on the fat by asking for skim or 2% milk as whole milk is required for the right consistency."
  • Add 3 pumps of caramel syrup.
  • Add 3 pumps of toffee nut syrup.
  • Top with caramel drizzle.
Hot Butterbeer Latte:
  • Whole milk steamer
  • Add caramel syrup (2 for tall, 3 for grande, 4 for venti)
  • Add toffee nut syrup (2 for tall, 3 for grande, 4 for venti)
  • Add cinnamon dolce syrup (2 for tall, 3 for grande, 4 for venti)
  • Whipped cream and salted caramel bits on top
  • Optional: Add a shot of espresso (2 for a grande or venti)

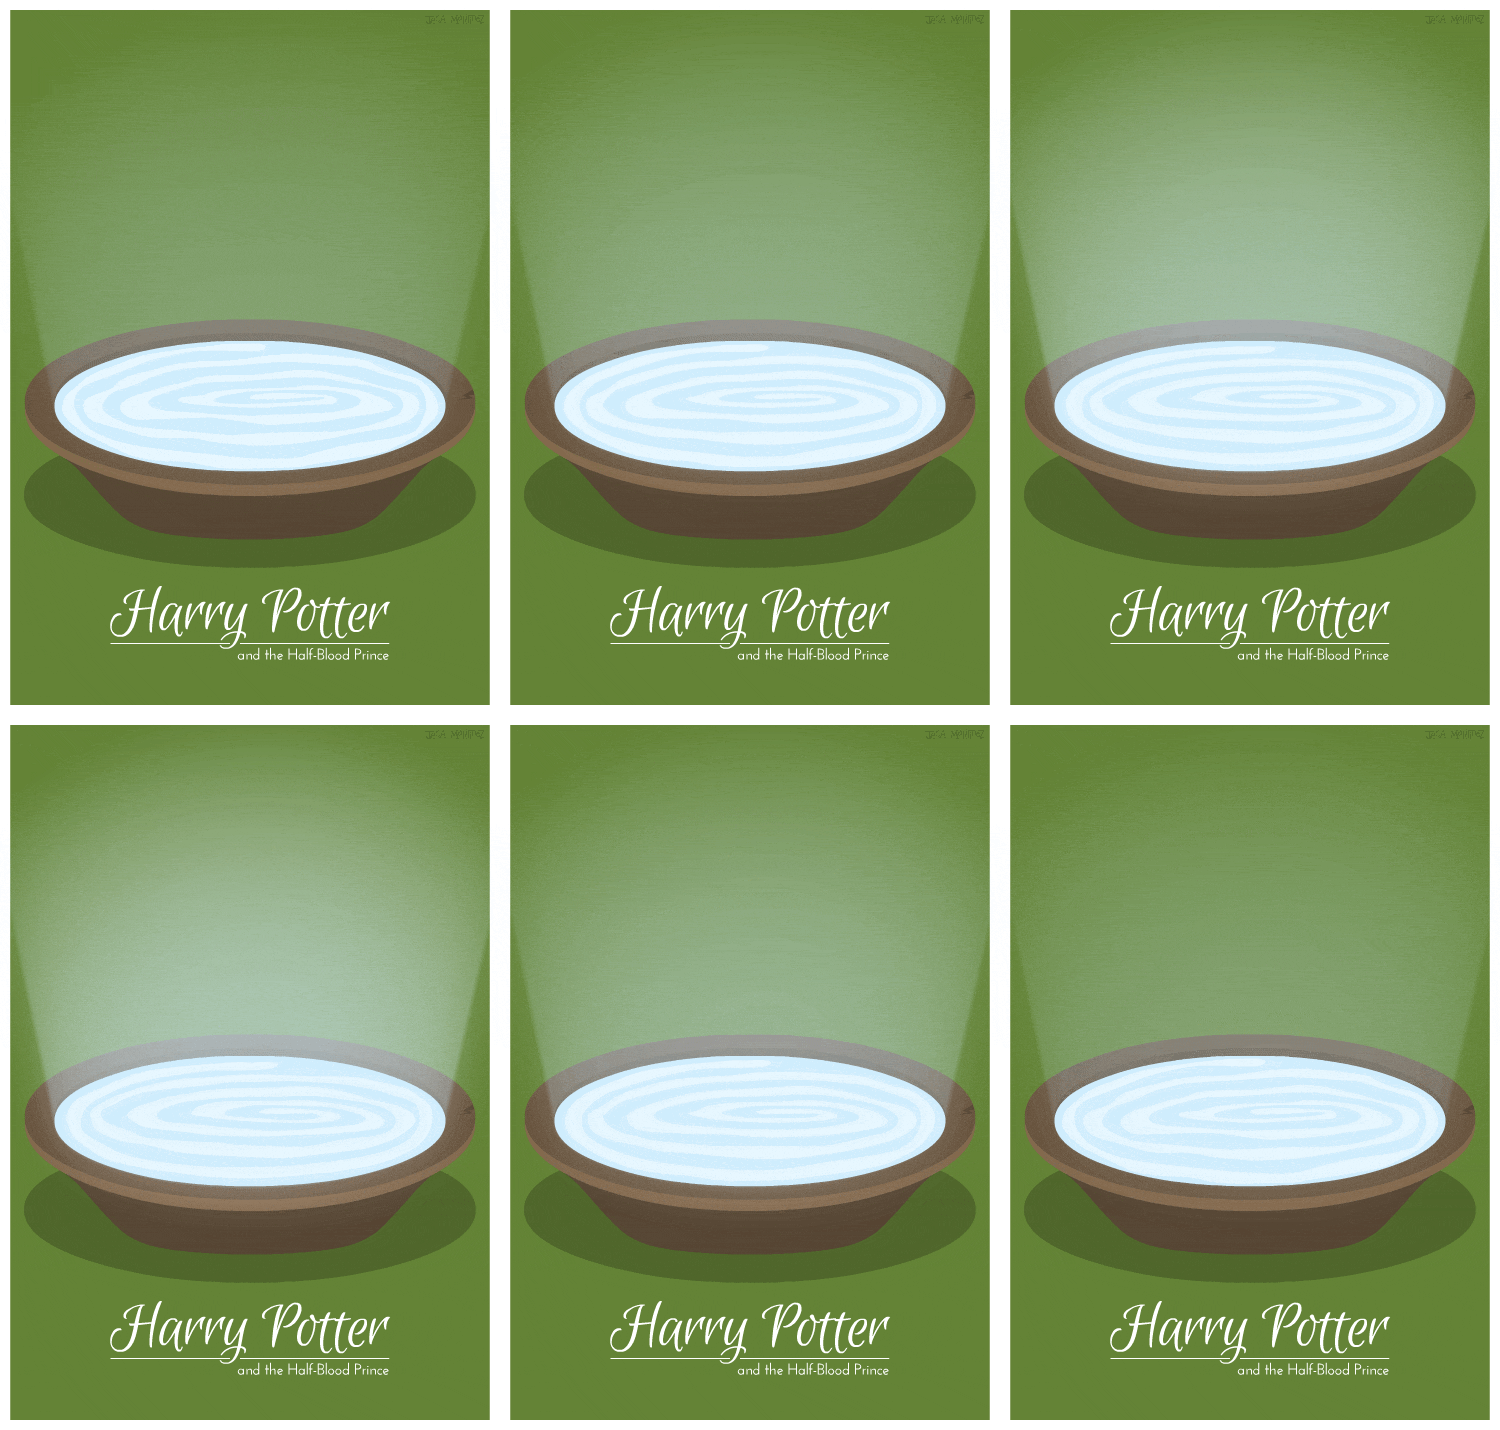
The other inspiration I found was from theorange.co.  It is officially my new favorite graphics website! I find all the graphics and colors on there simple, edgy, and very to-the-point. So here's a set of gifs created by Jon Eckert. Please note this is NOT my work. I am just an admirer. For original post, please click on the pictures :)

http://www.theorange.co/minimal-animated-gif-re-creations-of-harry-potter-book-book-covers/


http://www.theorange.co/minimal-animated-gif-re-creations-of-harry-potter-book-book-covers/


http://www.theorange.co/minimal-animated-gif-re-creations-of-harry-potter-book-book-covers/


http://www.theorange.co/minimal-animated-gif-re-creations-of-harry-potter-book-book-covers/


http://www.theorange.co/minimal-animated-gif-re-creations-of-harry-potter-book-book-covers/

http://www.theorange.co/minimal-animated-gif-re-creations-of-harry-potter-book-book-covers/

http://www.theorange.co/minimal-animated-gif-re-creations-of-harry-potter-book-book-covers/

Hope you enjoyed this Harry Potter craze.

Mischief managed.

http://networkedblogs/blog/joules-of-jewels http://www.etsy.com/shop/joulesofjewels http://www.facebook.com/joulesofjewels

Sunday, November 10, 2013

Easy DIY Chinese Hot Pot - A Hot Soup for Winter

Nothing better than a hot steaming soup to gulp down on a cold winter day. And what's better than Chinese Cuisine? Special feature hot pot from Chengdu, Sichuan, China.


Hot Pot, defined by wikipedia as "several East Asian varieties of stew, consisting of a simmering metal pot of stock at the center of the dining table." In a simplified way, it is like a oil based fondue, a European popular cuisine with variety of cheese, chocolate, oil, and meat. Hot Pot is mainly spicy and oil based.

Disclaimer: This is NOT the traditional way of cooking hot pot. The traditional way is much more delicate and requires many more tools. This tutorial is an easy fix for people who are homesick or simply want to try something new and easy.


How to make an easy Hot Pot at home:

The most important part is materials, which includes the hot pot base,  any kind of meat you want, any kind of vegetables you want. Optional: chicken/beef bouillon cubes, red pepper powder (found from Korean stores usually), Olive Oil (Walmart).

Cookware requires - a rice cooker or a pot, a pair of chopsticks or a ladle

The short version: 
1. Put base in the pot.
2. put all kinds of stuff you want to eat in the pot.
3. Add water to emerge all.
4. Cook at least 30 minutes. (you can cook as long as you want, but no shorter than 30 minutes) I have once cooked this for like three days, I just kept adding stuff, until I was tired of the flavor. It is surprising how lazy people can get.
5. Done.

The long version:

Hot Pot Base:
I used something like this found from the local Hong Kong market. Easy to make, and the flavors are pretty good. Of course, if you are going for the grand appeal of authenticity, you might want to find this brand called "Hai Di Lao," (海底捞), which is the most popular hot pot base right now. However, resources are scarce in the US. 
(Hai Di Lao Base)
1. I fry the base a little bit in a pan first with a little of olive oil to simmer the pepper spice out. If you wanted to go all the way, (which I did), have some olive oil in the pan first, heat up to medium high, and put red pepper powder down, and instantly, the oil will simmer and fry the pepper to this unbelievably lovely spicy pepper smell. Please note, don't use Pam spray, it is not enough oil.

2. After the base is a little fried, transfer it into a rice cooker or a pot. Rice cookers are easier, press "cook" and it will just cook for you. No fire, no hassle. No need to stand over it and stare while it cooks. This works very well for me. A pot is good also. Make sure put the fire on medium (or medium high before boiling). 


3. Find all the ingredients you want to put in hot pot. Usually, it is EVERYTHING. However, here are some tips I follow. 
(1). Don't put potatoes in until you are ready, they only cook for about 20 minutes, and they will melt into nothing if you cook it for an hour.
(2). Don't put greens in until you are almost finished. Greens will suck all the spice and flavor out of the hot pot, which will taste good. But it will ruin your base afterwards because whatever you put after the greens is not going to be as tasty.
(3). Put noodles as the LAST item, they will expand and take up the whole pot. It should be the last thing to put in, if you wanted it.
(4). Ribs usually takes more than 1 hour if it is raw. If you don't like to wait, cook the ribs in room temperature water first, bring it to a boil and cook at least 30 minutes afterwards. If you like the "fall off the bone" effect, cook at least 1 hour on medium high.
(5). Ground stuff doesn't work well free styling in a pot. So no ground pork, ground beef, unless you know how to make meat balls.
(6). Mushrooms always go with everything
(7). Tofu needs to be the fried kind, not the soft baby skin kind from Walmart.
(8). Sausages are ALWAYS so good by itself, and even better in the hot pot.
(9). I found fish balls from Korean and Japanese market very good with the hot pot also.

4. Put all the ingredients into the pot, and add water to emerge all the goodies. Press cook on rice cooker. Or if you are using a pot, put the fire as high when trying to bring it to a boil. Then turn it down to medium high and remains the boiling for at least 30 minutes. Usually, in the authentic process of Hot Pot making, we add chicken stock instead of water.  If I feel fancy one day, I shall follow the instructions exactly. Make sure to taste the soup before eating to see if it is salty enough. Sometimes adding one or two chicken or beef bouillon cubes will make it even better.

5. Wait for 30 minutes after boil - DONE!


Nagging: usually hot pots are cooked differently than the instruction above. However, the instructions above does not require supreme cooking skills, and does not require precise timing and temperature. It is much easier to make. Real hot pot will taste different if you ever go to China. They are served with "oil dish" to tame down the spice. It is usually a social dinner and will last more than 3-4 hours, with drinking. Please don't go to Beijing and say you've eaten authentic Hot Pot. Chengdu is where hot pot originated. There are many places in Chengdu that has great hot pot. They are usually restaurants dedicated to hot pot only. Chengdu is also the ONLY city in the world that has Pandas, the last city before you go up to Tibet, and voted "the leisure city" of China. Please refer back to food channel and Andrew Zimmern (Chengdu episode) for more information. 

Woo! So exhausting posting tutorials~ I hope you enjoyed this tutorial on a easy Chinese cuisine. Please follow my blog if you like this post, and check out my etsy shop on the way!

http://www.networkedblogs.com/blog/joules-of-jewels http://www.etsy.com/shop/joulesofjewels http://www.facebook.com/joulesofjewels


Saturday, November 9, 2013

Orange for Fall

https://www.etsy.com/treasury/MzcxMDUwMjl8MjcyMjY2Nzc5NQ/orange-fever?index=0&atr_uid=

After the official "daylight saving time" changed last week, it seems even New Orleans is getting chilly by the day! There wasn't much Fall season to be had this year which was sad. I usually enjoy outdoor activities with my puppies around the 70 degree weather. I thought I'd create this "Fall Collection" before we step into winter completely.

All of these crochet animals are my favorite, I admire people who can crochet. I never seem to obtain enough patience and can't keep my counts correctly.

Hope you are enjoying another Thanksgiving coming up! Cheers~

Thursday, October 31, 2013

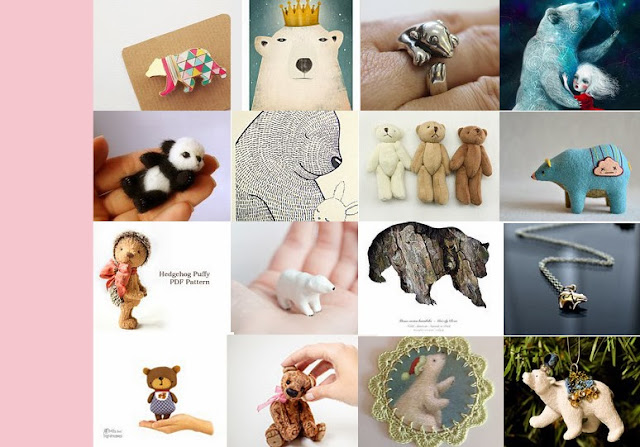
Happy Halloween from BEARS! Treasury

Newest treasury from Joules of Jewels.

I have always found bears to be so lovable. Fluffy, hug-able, cute, and clumsy, bears have stumbled into our daily lives! Check out the newest addition on etsy!

https://www.etsy.com/treasury/MzcxMDUwMjl8MjcyMjYzOTY5Mw/bears

Have you developed a new symptom of bear fever? Me too! Happy Halloween everyone!

Wednesday, October 30, 2013

Social Media Icon - DIY with Blogger - Tutorial

I have wanted to create my own social media icon to match the color theme, but it seems like I needed to put in HTML codes into Blogger. I am not a computer person, so all these backslashes and brackets confuses me.

I researched for about an hour, and sort of gave up, because almost everything I see, is either designs only or HTMLs and HTMLs come with the design. It was so confusing. I tried different keywords to search on google, and somehow stumbled upon this blog by Pam from Design Frantic that teaches you how to DIY social media icon on your own, without html writing skill!!! It looked scary at first but it is not bad at all. Enough sob story. Here's the video first. Instructions below.


Step by step instruction:

Minimum you need:
- Social media Icons (you can download premade from Craftiments, or search on pinterest, buy it from etsy, or you can DIY this in windows  paint or use software like photoshop and artrage)
- blogger account
-THATS IT!

1. Draw your own design.

Tip on DIY: these are really cute, but I wanted to design my own so I went ahead and designed it with Photoshop Element 11 and Artrage 3 (drawing program). The size of my icons are 24 x 24 pixel. I tried 48x48 but it was a bit too big. I think 36x36 pixel is a good size also. In the video, the icon size are rectangular shape, I am not sure the exact size. However, it seemed like the round little buttons are in style right now, so I made them round and small (see my icons from top right). Try to make the background of your round icon transparent, it comes out cuter, and more like a button than a square.

2. Watch the video.
Tip: try and do exactly what the video says, it is easy to follow. However, I think now blogger spaces out pictures automatically, in order for your icons to lay nicely side by side, you need just a tiny bit of editing in html after you finish following instructions on the video.

3. HTML edit for spaces between pictures. (This is optional for cosmetics)

In Short, delete the "div"s and "/div"s. If you are not familiar with computer language ever, read on.
To do this, go back to where you got the html in editing the post. and click on html.
What you need to understand about html language is that, everything is in brackets "< >"
So each command does different things. The command that separates pictures are "<div>" and "</div>"
So you need to go into the html, and find all the "div" and "/div"s and delete them. Be careful not to delete "< >" unless it looks like this "</div>" or "<div>".

If it looks like "<div blah blah blah command>" then delete the "div" only, not the "<" in the beginning, and make it look like "<blah blah blah command>"
You always need the brackets to let the computer know where is the starting point and where is the finishing point.

So for example, mine looks like this: Yellow highlight is where source of the picture from, if you are using blogger to build html, it will say something like http://2.bp.blogspot.com/blahblahblah.jpg
Highlighted in red is your social media link. 
 Note that I have a "<div blah blah command>" at the beginning, and "</div>" at end of each picture, delete the blue highlighted.

<div class="separator" style="clear: both; text-align: center;">
<a href="http://www.facebook.com/joulesofjewels" target="_blank"><img border="0" src="http://www.incertyourpicturesourcehere" /></a></div>
<div class separator="" style="clear: both; text-align: center;">
&nbsp;<a href="http://www.etsy.com/joulesofjewels" target="_blank"><img border="0" src="http://www.incertyourpicturesourcehere" /></a></div>
<div class separator="" style="clear: both; text-align: center;">
&nbsp;<a href="http://www.pinterest.com/joulesofjewels" target="_blank"><img border="0" src="http://www.incertyourpicturesourcehere" /></a>
<div class separator="" style="clear: both; text-align: center;"></div>
&nbsp;<a href="http://www.twitter.com/joulesofjewels" target="_blank"><img border="0" src="http://www.incertyourpicturesourcehere" /></a></class></class></class></div>

Now, after you delete the blue highlighted above, copy and paste the updated html into your template gadget html (where you were before in the video). Then view blog to enjoy your cute one of a kind social media buttons!

Thanks to the great world wide web, google, Pam from Design Frantic, Craftiments,and YouTube!
If you have any questions, please post comments, and I will be happy to respond!
Please share if you think this post has helped you!

Tuesday, October 29, 2013

Inspiration from Sundance Catalog

Before I started my own jewelry making, I have discovered Sundance, as the catalog was always shipped to my mom around holiday times. I have bought jewelry from them before, it is very nice jewelry.  I have recently picked up the new catalog, and found a  couple of inspirations from there.

This was the cover piece, a knotted pearl necklace. I find this piece really good because it has an accent of the red ruby. It is very catchy with the red ruby from the grey pearls. The ruby is also acting as a stopper/clasp of the whole necklace. I thought this was really clever of the design.

Here's a closer look.

Some more inspirations. It seems like the new trend is using pyrite stones (silver stone) as an accent of other beads. I can see a lot of the pieces have pyrite, either in silver or plated gold. The cut is usually small 3mm faceted rondelles. Click on the pictures to go to the source.

rosaria earrings


blue rose necklace


carnelian loop earrings


bubbling brook necklace


moonfire pearl necklace


 soothing stream bracelet


Hope you enjoyed these different ideas! and leave a message!

Monday, October 28, 2013

Great weekend with friends and New Treasury!


Having a great weekend with friends from California! Saturday we went for a short run for breast cancer [Susan Komen for the Cure, link here for more information]. Saturday night we went to the haunted house in New Orleans, The Mortuary!!! It was very very scary. My friend and I screamed the whole time. The crew was well done, the whole place was dressed up from top to the bottom, and everyone was very professional, yet very SCARY! Some of them are really close to us, breathing down our necks and giving us chills down our backs. This year, the theme was "Zombies." It was FANTASTIC. I totally recommend anyone to go and try it.


We got out tickets online, and one of our team member is a fire fighter captain, so we got to go to the front of the line no waiting. Anyone else, if you don't want to wait, I think the VIP pass is worth every penny. The line is very long, especially this close to Halloween in the most Voodoo city New Orleans. 

Here's the treasury from Joules of Jewels for today. Monday is always grey to me. So I created a grey treasury, BUT, it is also very calming and relaxing, with a hint of vintage because I found MANY many great things on etsy today that is related to vintage grey lace.Click on the picture (or here) to go to the treasury list and shop!


Happy Mondays everyone!

Thursday, October 24, 2013

Nature's landscape - Insparation

I have stumbled upon this website that has great pictures of earth's beautiful landscapes. And they inspire me to create another treasury for today! Check it out.


Above pictures are from Mother Nature Network (source here).  And now, here's my treasury list


Hope you enjoy a great thursday!